rendering and control of Nova5 arms with robotiq 2F85 gripper within Isaac Sim 4.2
Source: Isaac Sim RMPflow controller
Presteps
-
Follow the official instructions to install Nvidia Isaac Sim from NVIDIA’s Developer Page.
-
For my case, installation with workstation and ROS 2, details from official repositories.
-
For a smoother workflow, it’s best to implement urdf model and set up the basic simulation early on in the GUI. This approach tends to be more stable with the USD stages implementation, especially compared to the hassle of importing and adjusting models through scripts in Isaac Sim, which can be quite frustrating.
Implement URDF description and add controllers
NVIDIA provides a tutorial for Turlebot URDF import. You could implement the Robotiq 2F85 gripper by this URDF, or just use the usd file from NVIDIA, PATH: omniverse://localhost/NVIDIA/Assets/Isaac/4.2/Isaac/Robots/Robotiq/2F-85/, if you are installing the server on local machine. Here is a guideline of assembling the gripper to a 6-joint arm. You might be aware that the gripper is hard to control, you could follow this tutorial for a closed-loop setting up.
Or you could use my urdf for dobot nova5 with robotiq 2f85 gripper.
Controllers
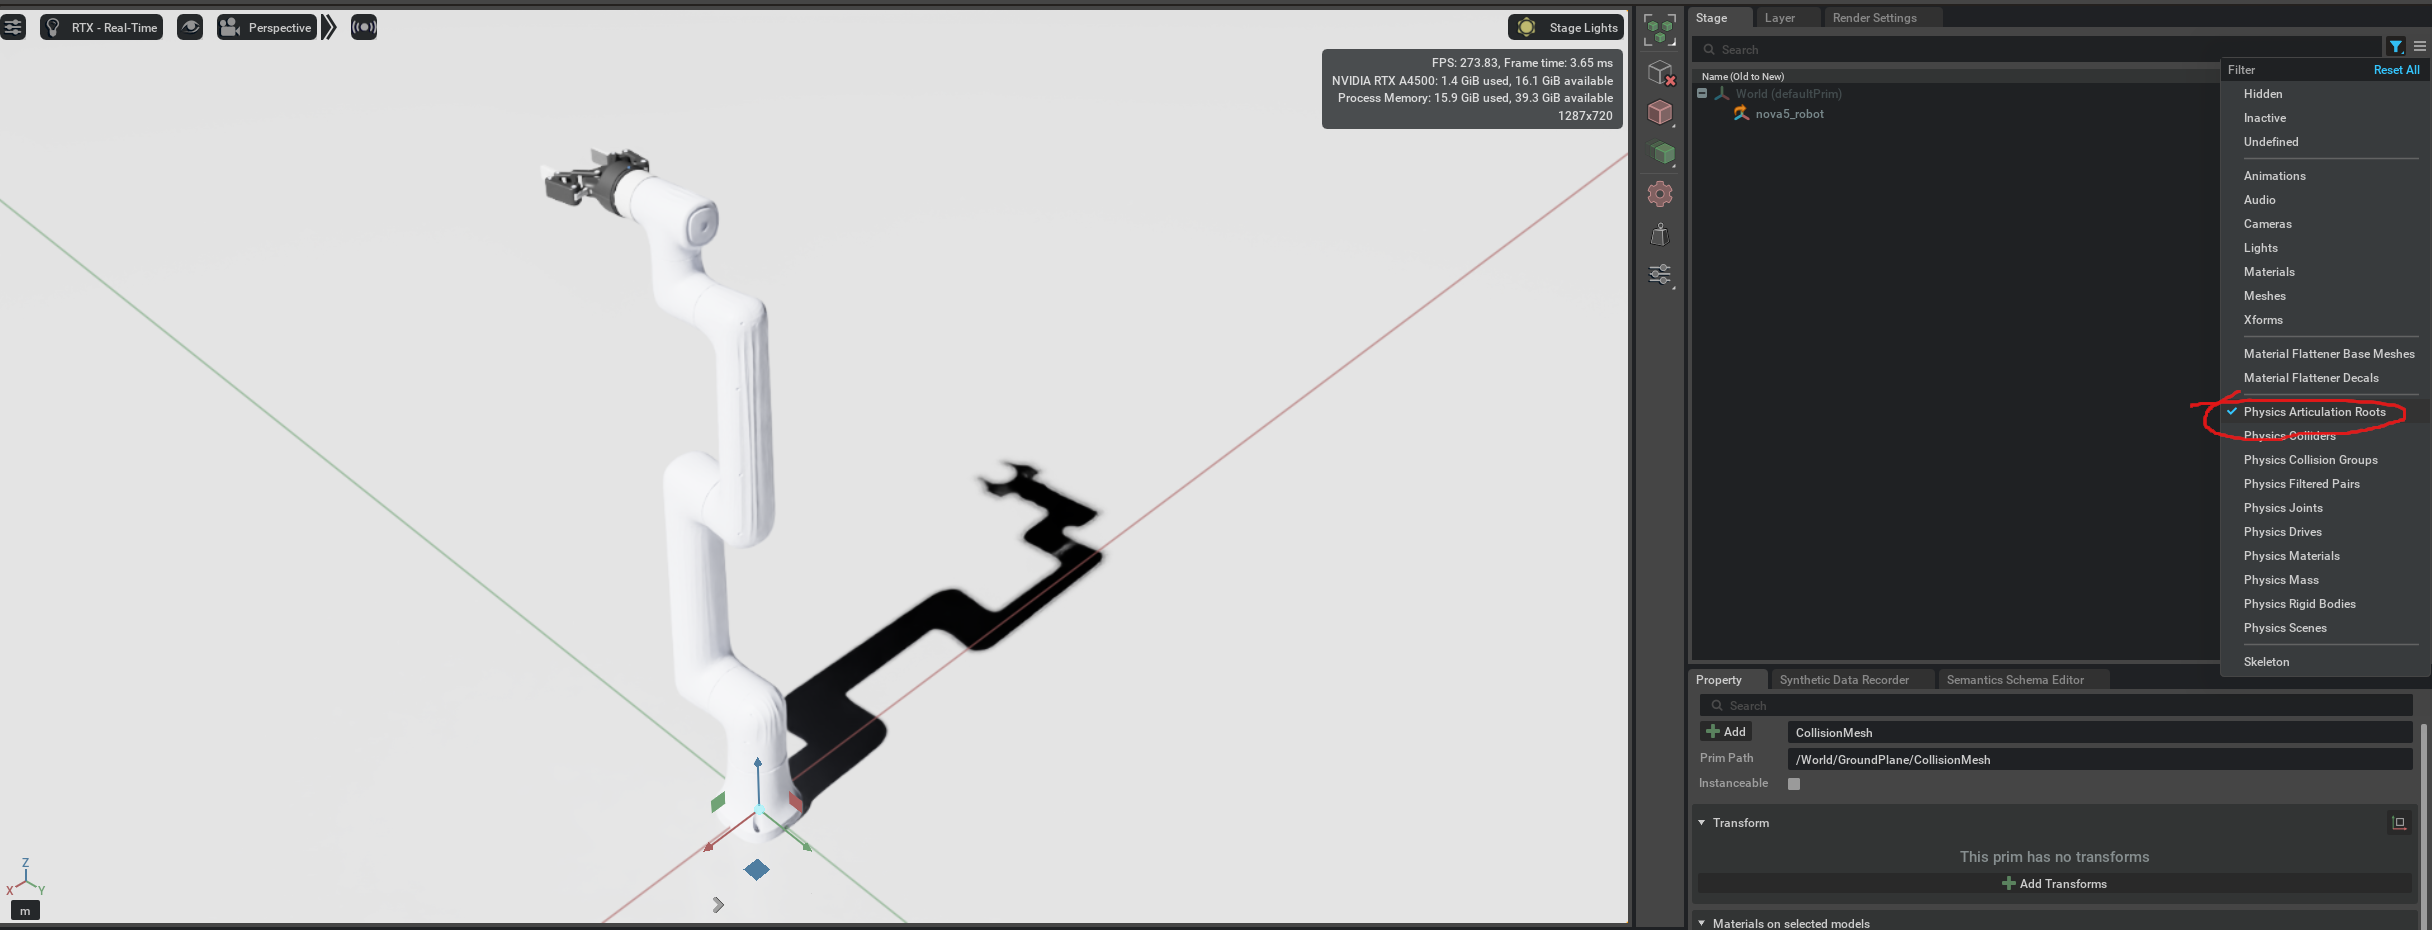
Before adding controllers, ensure the articulation is correctly set. For my case, I have to correctly set the articulation root to be the fixed manipulator, you could check the articulation root by filtering the properties in stage.
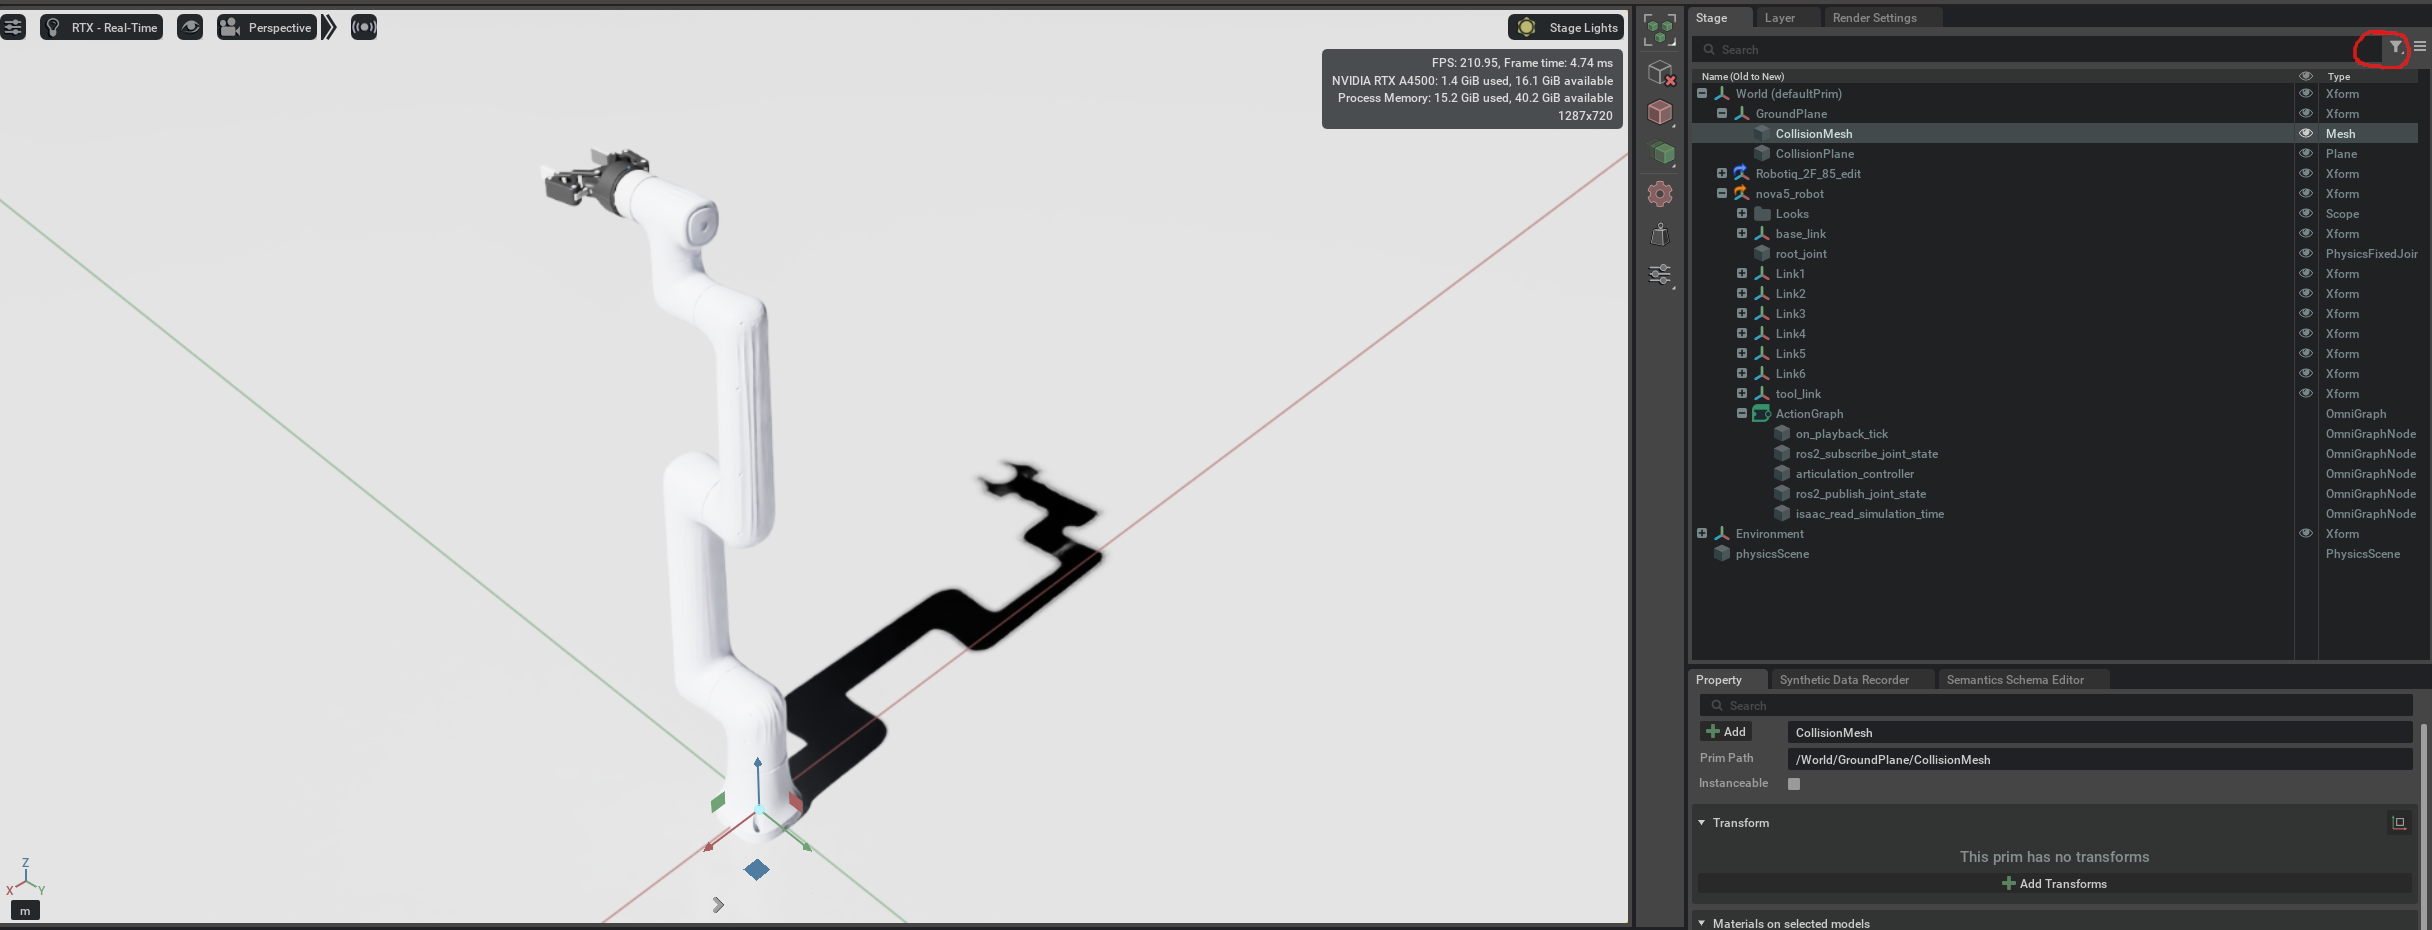 Source: Author screenshot from Isaac Sim.
You should keep the root should be either to:
-
the fixed joint that connects the articulation base to the world, or
-
an ancestor of the fixed joint in the USD hierarchy. The second option allows creating multiple articulations from a single root component added to the scene: Each descendant fixed joint will be defining an articulation base link.
 Source: Author screenshot from Isaac Sim.
Then we add the articulation robot controllers to the robot. Before running the simulation, it is wise to determine the damping, stiffness, max force etc, here is a helpful extension for tuning them.
$\tau = \text{stiffness} * (q - q_{\text{target}}) + \text{damping} * (\dot{q} - \dot{q}_{\text{target}})$
where $q$ and $\dot{q}$ are the joint position and velocity, respectively. Note that when $\dot{q}_{\text{target}} = 0$, the system reduces to a conventional PD controller on the joint position.
This formula applies for both revolute and prismatic joints.
The joint max force will act as a clamp for $\tau$, and finally, the drive type will dictate if the effort will be applied directly as a torque/force or if it will be converted into an acceleration applied to the bodies connected to the joint.
TO DO
-
Import Nova5 arm model
-
Integrate Robotiq 2F85 gripper
-
Set up control framework
-
Test rendering and control
-
Implement with ROS2 Humble